Happy Holidays Winter Snowman and Tree Bulletin Board Idea
By Kayla • April 3, 2018

The picture is a bit blurry (so it might be hard to make out all the details), but we're certain that this simple, yet unique winter display would make a great addition to any classroom! It's not holiday specific - so the board could be put up early December and kept up through the new year - and its simplicity allows for easy creation and decorating.
Hand Print Christmas Tree
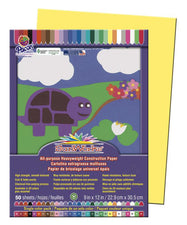
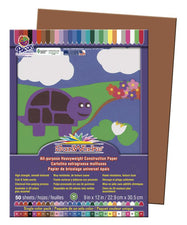
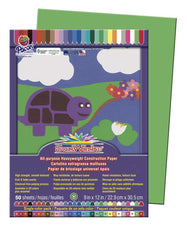
While the original display makes use of an adult hand print, we suggest getting your students involved in the craft. So that it doesn't take away from precious class time, as the end of November nears, set up a "tree making station" in the art center where students can come during free time or between activities to create hand print "branches". Consider providing several shades of green construction paper for visual interest (you might also consider fun scrapbook or crafting paper with muted patterns). For a special twist, provide garland and ornament making craft supplies as well. The original design features an undecorated tree, but we think it could be fun to add some sparkle and pizazz!
Here are links to some great ornament crafts:
- 5 Homemade Craft Stick Ornament Ideas! | MPM School Supplies Blog
- Fun Foam Stocking | Craft Ideas
- Reindeer Hand Print Ornament | Raleigh Family Entertainment | Examiner.com
You might also consider having students create a garland of thumbprint Christmas lights to "string" on the tree, like these at Meet the Dubiens. Start with a roll of adding machine tape, use a green marker to draw the string, and then create the lights. Once dry, cut out the light strands (carefully!) and arrange on the tree!
Happy Holidays Winter Display
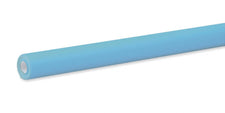
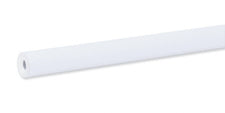
- Background: Create a winter 'snowscape' - covering the top half of the bulletin board with lite blue background paper and the bottom half with white paper.
- Title: "Happy Holidays!" or another generic greeting.
- Border: The original design does not incorporate a border, but you might consider a winter themed bulletin board border or a complimentary solid color trimmer.
-
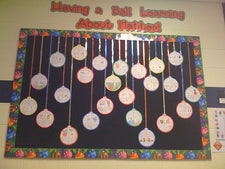
Decoration: 1) The Snowman. Cut pieces of white construction paper into 2" strips (cutting widthwise, not lengthwise). Use these to create a paper chain. [NOTE: You'll need a decent size chain to create a full size snowman. For reference, the largest circle of the snowman's body will take about 35 links.] The snowman will then be made from interconnected chain spirals.
The picture above, shows how the paper chain can be manipulated to form a snowman. There will be one point of overlap between the second and third circle, but overall, the chain flows uninterrupted from circle to circle. Use assorted colors of construction paper to create the snowman detailing - hat, scarf, eyes, carrot nose, mouth, buttons, arms, mittens, etc. 2) The Christmas Tree. Use your students' branches and tree trimmings. Add a construction paper trunk and star and you'll be set!

We think this simple, festive holiday display is the perfect solution to your busy schedule and an ideal compliment to your winter decor! Let us know what you think by leaving a comment below!
About the Author

Kayla Johnson


Disclaimer: The content on this page is for informational purposes only and reflects the author's personal experiences and/or opinions. The author is not a financial advisor, medical professional, or licensed expert in any regulated field. Nothing on this page should be interpreted as financial, medical, or professional advice. This content is not a substitute for professional advice, diagnosis, or treatment.
Always consult a qualified professional before making decisions related to your finances, health, or other personal matters. The information provided here is shared in good faith, but individual circumstances vary, and what works for some people may not work for you. Results are not typical, implied, or guaranteed. While we strive for accuracy, information may become outdated or change over time. Statements made by guest authors reflect their own opinions and should not be interpreted as endorsements by SupplyMe.
Some of the links on this page may be affiliate or referral links, which means we may earn a commission or bonus if you use them. There’s no extra cost to you — and it’s a great way to support the site if you find the content helpful.