Look Hooo's in 3rd Grade! - Owl Themed Back-To-School Bulletin Board
By Kayla • April 3, 2018

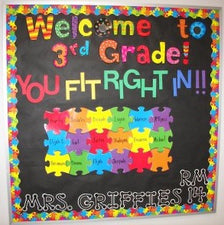
Third grade teacher, Sandie McLaughlin, created this adorably colorful owl themed welcome board for back-to-school and, if you're thinking about doing an owl theme of your own this year, we think this would make a lovely addition to your decor! Not only do we love the mix of bright, welcoming colors, the three dimensional tree also offers a unique and fun twist to the design!
Look Hooo's in 3rd Grade!
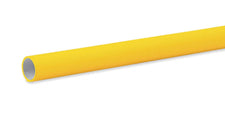
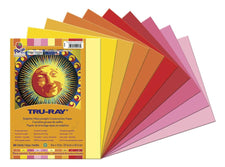
- Background: Yellow bulletin board paper.
- Title: "Look Hooo's in 3rd Grade!"
- Border: Use an owl themed bulletin board and a complimentary solid color trimmer to create a layered look.
-
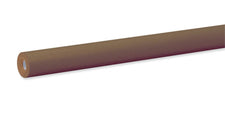
Decoration: 1) The Tree. How fun is this tree?! To create your own, you'll need a large piece of brown bulletin board paper. We suggest starting with a piece cut like the diagram below;
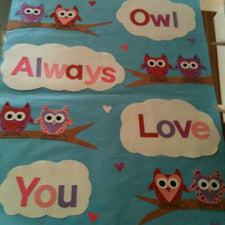
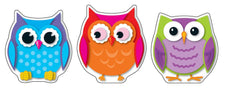
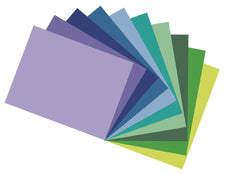
 Once cut, start by scrunching the large selection at the bottom to create the trunk, then scrunching/twisting each of the five sections at the top to create the branches. [NOTE: This may or may not result in a tree that is a full as you would like. If it needs a bit more 'oomph', simply cut smaller strips of brown paper, scrunch/twist the new sections, and arrange them alongside the original tree shape.] Find a simple leaf pattern to print onto green construction paper (we like that Sandie used several shades of green), the cut the shapes apart and arrange them on the branches. 2) The Owls. While you can certainly purchase owl cutouts like Sandie did, creating your own is an option too! We stumbled across some super cute templates a while back and shared them on this post if you're interested! All you would need is some vibrant card stock and/or fun patterned scrapbook paper! Whatever you choose, print the names of your new students onto the cutouts and arrange them around the tree/board.
 Once cut, start by scrunching the large selection at the bottom to create the trunk, then scrunching/twisting each of the five sections at the top to create the branches. [NOTE: This may or may not result in a tree that is a full as you would like. If it needs a bit more 'oomph', simply cut smaller strips of brown paper, scrunch/twist the new sections, and arrange them alongside the original tree shape.] Find a simple leaf pattern to print onto green construction paper (we like that Sandie used several shades of green), the cut the shapes apart and arrange them on the branches. 2) The Owls. While you can certainly purchase owl cutouts like Sandie did, creating your own is an option too! We stumbled across some super cute templates a while back and shared them on
 About the Author

Kayla Johnson


Disclaimer: The content on this page is for informational purposes only and reflects the author's personal experiences and/or opinions. The author is not a financial advisor, medical professional, or licensed expert in any regulated field. Nothing on this page should be interpreted as financial, medical, or professional advice. This content is not a substitute for professional advice, diagnosis, or treatment.
Always consult a qualified professional before making decisions related to your finances, health, or other personal matters. The information provided here is shared in good faith, but individual circumstances vary, and what works for some people may not work for you. Results are not typical, implied, or guaranteed. While we strive for accuracy, information may become outdated or change over time. Statements made by guest authors reflect their own opinions and should not be interpreted as endorsements by SupplyMe.
Some of the links on this page may be affiliate or referral links, which means we may earn a commission or bonus if you use them. There’s no extra cost to you — and it’s a great way to support the site if you find the content helpful.